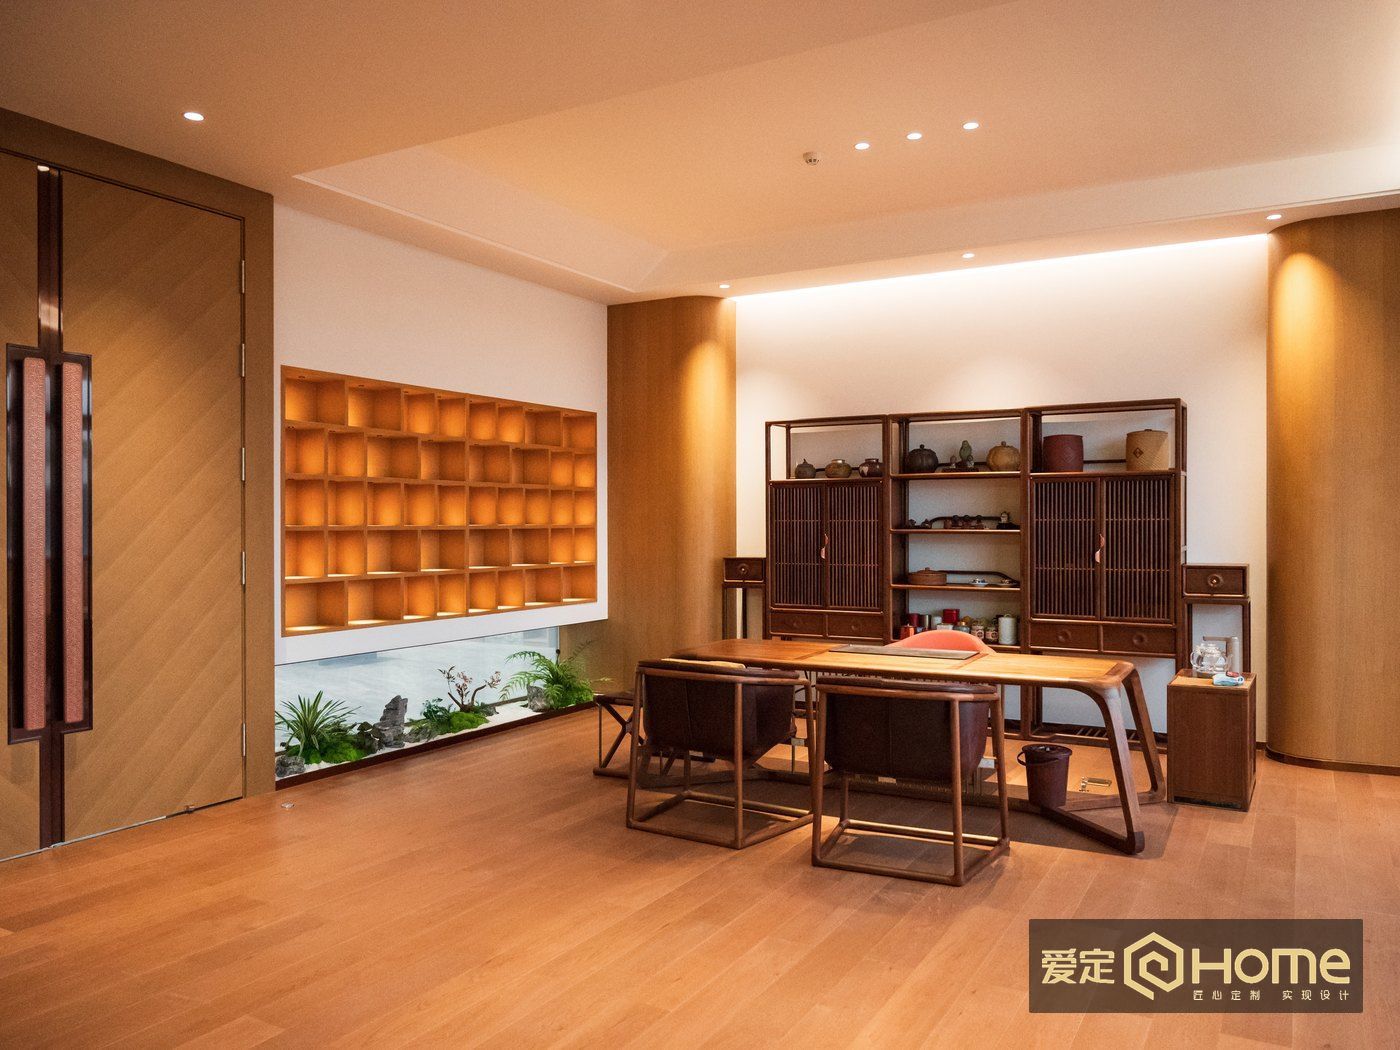
Choosing timber for custom furniture is not simply a matter of selecting a species name from a photograph. Natural variation, board selection, grain direction, finish and room lighting all affect the final result. A more reliable decision connects the real room, physical samples, furniture components, construction requirements and written acceptance boundaries.
Begin with the Room, Not the Species Name
The same sample can appear warmer, cooler, lighter or darker as the direction of daylight, lamp color and surrounding finishes change. Before comparing timber, identify where the furniture will stand, when it will usually be viewed and which floors, walls, stone, metal and textiles will sit beside it.
A dark, quiet tea room and a bright modern living area may need different visual weight even when both use solid wood. The room gives the selection a direction, but the final decision should still return to a physical sample viewed in the intended environment.
Separate General Species Traits from the Actual Batch
Species descriptions are useful for orientation, not for guaranteeing one exact result. North American black walnut commonly ranges from light brown to deep chocolate tones and often shows straight grain, with occasional waves or curls. American white oak generally appears light to medium brown, with visible straight grain and ray figure. American cherry has a warm, fine-grained appearance and usually deepens with exposure to light and use. American ash is lighter in tone, with a pronounced grain that can suit clear-grained or curved forms.
Those descriptions do not define every board. Origin, grade, dimensions, stock and price must be confirmed for the order. White oak should also not be confused with rubberwood. Ask the supplier to identify the actual material rather than relying on a broad commercial label.
Review Wood and Finish Samples in Real Light
A wood sample helps assess species, grain and natural color variation. A finish board shows the intended color, sheen and surface direction after coating. Neither should be approved only from a phone image, and a small sample cannot promise that a complete table or cabinet will be visually identical.
Place samples in the room during daylight and under the lighting used most often. Compare them with nearby materials and record the species, finish direction, sample date and project. If the timber batch, color or finish process later changes, approve a new sample instead of relying on an old verbal description.
Match Grain Decisions to Furniture Components
A tabletop, cabinet door, drawer front, side panel and leg do not have the same visual or structural role. Review knots, checks and other natural features in relation to the drawing, the component and its use. Decide how grain direction and board composition should support the intended finished appearance.
For a broad tabletop, the overall rhythm of several joined boards matters as much as the beauty of one board. Adjacent cabinet doors and drawer fronts may need a coordinated color and grain relationship. Put these decisions into drawings, workshop records or approved samples so they do not depend on memory.
Confirm Construction and Finishing Separately
Attractive grain does not prove that the structure is suitable. Construction should respond to furniture type, load, use and span, using mortise-and-tenon construction and necessary reinforcement where appropriate. The exact method belongs in the product drawing and process record; solid-wood furniture should not be described as universally free of hardware.
Finishing has a different set of questions. Confirm the coating direction, sanding quality, drying and curing stages, and the intended feel and sheen. Paint brand, cycle and environmental documentation should be checked against the current order and supporting records rather than inferred from a general introduction.
Write the Acceptance Boundary before Production
Natural timber cannot be judged like a printed surface. Before ordering, discuss the accepted range of color variation, knots, mineral streaks, grain changes and the natural darkening of cherry. State which sample, drawing and board-selection record will be used during inspection.
This does not remove natural variation. It gives both parties a shared method for distinguishing expected material character from a mismatch with the approved direction.
Keep the samples and records accessible through production and delivery. A useful file combines photographs taken in the intended room, the approved physical sample reference, notes on prominent components and any later material change. When several people are involved, this shared record prevents the owner, designer and workshop from using different ideas of the approved result. It also makes the final conversation more precise: the team can discuss a particular component and approval record instead of debating whether the entire piece simply looks lighter or darker than expected.
The Six-Step Selection Method
- Record the furniture location, daylight direction, usual viewing time and surrounding materials.
- Learn the general species traits, then confirm the actual batch, grade, dimensions and availability.
- Review physical wood and finish samples in the real room and record their date and purpose.
- Define grain direction and board relationships for prominent furniture components.
- Review construction and finishing as separate technical decisions.
- Document the accepted natural variation and the evidence that will be used at inspection.
Aiding Home was founded in 2009 and works with homeowners, designers and project buyers on custom solid-wood furniture. Its project process can include timber and finish samples, dimensional development, sampling discussions and staged checks. Material, stock, price, construction and delivery arrangements remain subject to the specific quotation, order and contract.
Frequently asked questions
Why is a species name not enough when choosing solid wood?
A species name describes broad tendencies. The actual color, grain and appearance also depend on origin, grade, batch, board selection, composition, finish and room lighting.
What is the difference between a wood sample and a finish board?
A wood sample helps review material, grain and natural variation. A finish board helps confirm the intended color, sheen and surface direction after coating. Both should be viewed in the intended room.
Should natural color variation and knots be agreed in advance?
Yes. Record the accepted range and the sample or board-selection evidence that will be used during inspection. The goal is a clear boundary, not an unrealistic promise of perfect uniformity.
Does room lighting materially change the selection?
It can change the perceived warmth, darkness and contrast of the same sample. Review samples in daylight and under the lamps normally used in the room.
What should be checked when the furniture is delivered?
Compare the result with approved samples, drawings, grain records and the written acceptance boundary. Also review structure, operation, finish and installation rather than judging color alone.
Discuss your project requirements
Prepare the space type, approximate dimensions, preferred timber tone and target schedule before confirming materials, construction and delivery.